Track Changes in Microsoft Word is a helpful feature for viewing and editing revisions while you work in a document. This tool can be incredibly useful when multiple users are editing the same document. Also, if you are a professor, you can use Track Changes to add comments and make revisions to a paper. The author of the document can accept or reject each change once the document is ready to be finalized. Here are a few steps to get started with Track Changes:
Turn on Track Changes
Under the Review tab, select Track Changes. (For older versions of Word, go to Tools and select Track Changes.)
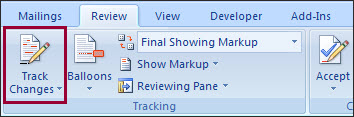
You can also use a shortcut to turn on and off track changes (CTRL-SHIFT-E).
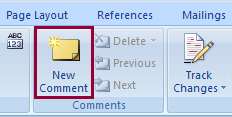
Add Changes or Comments
- 1. Turn on Track Changes.
- 2. Make revisions directly into the document and they will show up in red.
- 3. Click on the New Comment button to add remarks.
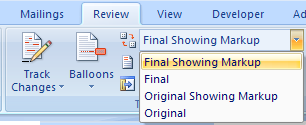
Here is what each displays:
Final Showing Markup: Document with changes
Final: Document including proposed changes
Original Showing Markup: Original document with proposed changes
Original: Document before any editing
Accept or Reject Changes
To accept or reject changes, click on the appropriate button on the top menu.
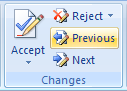
Or you can right click on the change and a drop-down menu will appear with options to accept or reject.
To learn more visit:
http://office.microsoft.com/en-us/word/HA012186901033.aspx