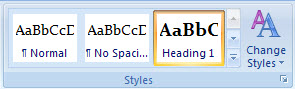
If you want to create a professional looking document, the preset styles in Word 2007 make it easy to choose headings, subheadings, and font themes that are designed to complement one another. Using the Quick Styles feature can help save you time and make your document look more polished. To get started, go to the Home tab and find the Styles boxon the right. In this box, you can choose from a range of styles and color schemes. To apply a style to a section, just highlight your text then click on the style you want. You can also use the Change Styles button to quickly change style sets, colors and fonts.
Track Changes in Microsoft Word is a helpful feature for viewing and editing revisions while you work in a document. This tool can be incredibly useful when multiple users are editing the same document. Also, if you are a professor, you can use Track Changes to add comments and make revisions to a paper. The author of the document can accept or reject each change once the document is ready to be finalized. Here are a few steps to get started with Track Changes:
Turn on Track Changes
Under the Review tab, select Track Changes. (For older versions of Word, go to Tools and select Track Changes.)
You can also use a shortcut to turn on and off track changes (CTRL-SHIFT-E).
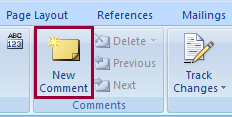
Add Changes or Comments
1. Turn on Track Changes.
2. Make revisions directly into the document and they will show up in red.
3. Click on the New Comment button to add remarks.
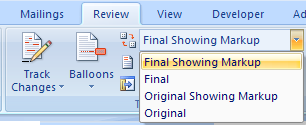
Here is what each displays: Final Showing Markup: Document with changes Final: Document including proposed changes Original Showing Markup: Original document with proposed changes Original: Document before any editing
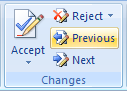
Accept or Reject Changes
To accept or reject changes, click on the appropriate button on the top menu.
Or you can right click on the change and a drop-down menu will appear with options to accept or reject.
Once an image is included in a Word document, it is embedded as part of the file. If you would like to use an image that is part of a Word document, luckily there is a quick and easy way to extract and save images from Word. Saving a Word document as a Web page (from Word 2000 on) will separate the text from images as separate files.
To save your document as a Web page, select (File >Save as) then choose Other Formats. From the pull-down menu, next to Save as type:, select (Web page *.htm; *.html), then save. Two components will be saved; a folder, which will contain the image files along with a separate .htm file. Find the image files you’d like to use and you may delete the rest, since you will still have the original Word document.